I’ve been going through a lot of photos and trying to retrieve what I can from my social media accounts. Many were destroyed this past winter when our old residence was burglarized, ransacked and apparently trampled. This has caused me to really want to see some of my photos more often.
I’ve come to the conclusion that it might be nice to have some photos, or even art work by the kids, switched out seasonally. As a kid, my mom replaced some regular decor and photos with Christmas decorations as she carefully decorated our two story house each year. I would like to do a bit more of that again myself.
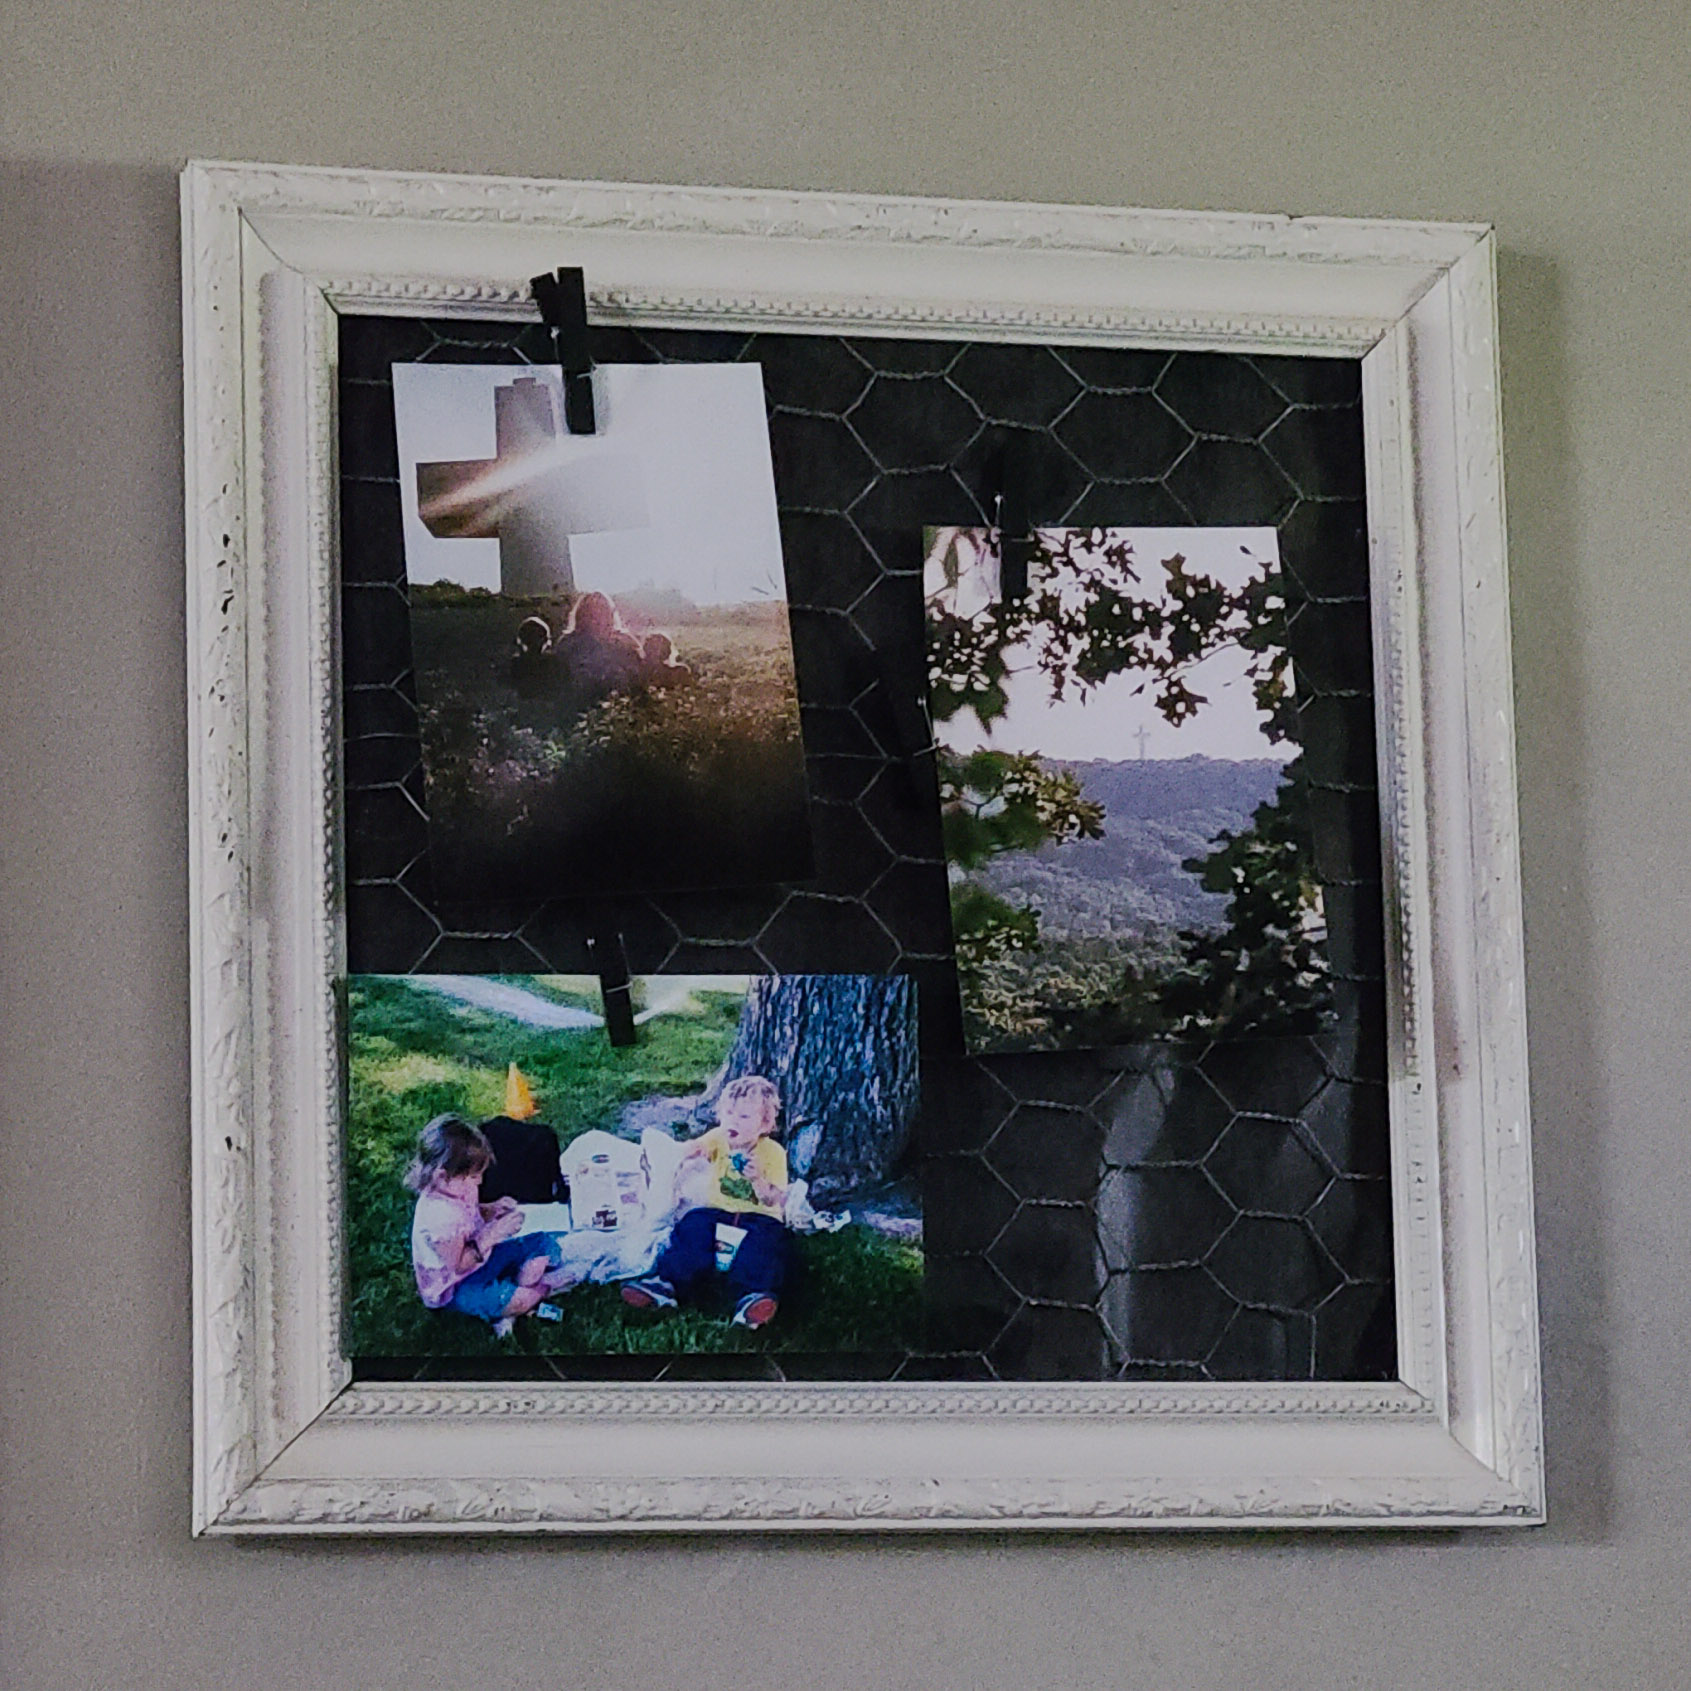
An easy craft project to make for practically free is a photo frame to easily change out and display multiple photos. They are perfect to keep a photo wall refreshed in a house, easily change out photos in a dorm room or rental, or even serve as a recipe card holder in the kitchen. Make one or a few for yourself or even to gift.

Most of us already have a photo frame that has broken glass that we can no longer use. You can also usually find frames of all sizes in thrift stores and second hand stores. I went with a frame that I purchased for about a dollar in a second hand store. Initially, it was going to be part of room decor. Then I managed to break the glass and had to revamp a bit…
I already had chicken coop wire on hand, so that was basically free, and I had mini clothespins that I had picked up earlier in the year on clearance at the big craft store. I also had some leftover 12 x 12 scrapbook paper from another project. I originally planned to use fabric, but since the paper was the exact size of my frame and very neutral, I went with that.

The basic process is:
- Clean your frame. You will not need the glass. Save it for another project…
- Cut your chicken coop wire (you can even get small amounts of this now at some craft stores) to be just slightly larger than your frame. If you look at the chicken coop wire, you will see that it is made up of single and twisted wire. It is easiest to cut the single wires. I used the craft wire snips. Previously, I used regular scissors, but it was a bit harder that way.
- Place the back if the frame down on a flat surface and cover the front side of the frame back (just not the side with the picture hanger on it if it is not on the frame itself…) with the paper or fabric. I taped my paper to the frame. If you use fabric, you may want to staple it in inconspicuous spots.
- Place the chicken coop wire down on a flat service.
- Place the covered frame back face side down onto the chicken coop wire.
- Very carefully (try not to stab yourself with any of the wire…) bend the ends of the overlapped wire behind the picture frame back using pliers or your wire snips.
- Place the picture frame back into the frame with the chicken coop wire. You may need to do some additional wire bending to make it fit.
- Clip a few mini or regular clothespins to the wire, and you are all set to add photos, cards, recipes, or whatever you choose.
IMPORTANT NOTE: It is recommended that you wear gloves (or at least have a current Tetanus shot…) as the wire can be sharp and scratchy. Please be careful!
Fall…

Christmas

Valentine’s Day

Recipe Holder


